
Request Signature by Email with Postman
What We'll Build
In this tutorial, we will learn to create a document from a PandaDoc template and send it for signature via email using the PandaDoc API and Postman. By the end, we'll have successfully created and sent our first document through the API.
This step-by-step tutorial will guide us through requesting signatures or data input from clients, employees, or partners.
Prerequisites
Create your free sandbox account
If we haven't yet created our Sandbox account, let's do it now. It's fast and free forever. Here's a quick link:
Verify your email address
Let's check our inbox and follow the confirmation link to activate our account. This is essential for making API calls. Note that the email may fall into Spam. If we can't find it, we can always resend it from our Profile.
Expected outcome: We should receive a confirmation email and our account should be activated after clicking the link.
Create or select a template
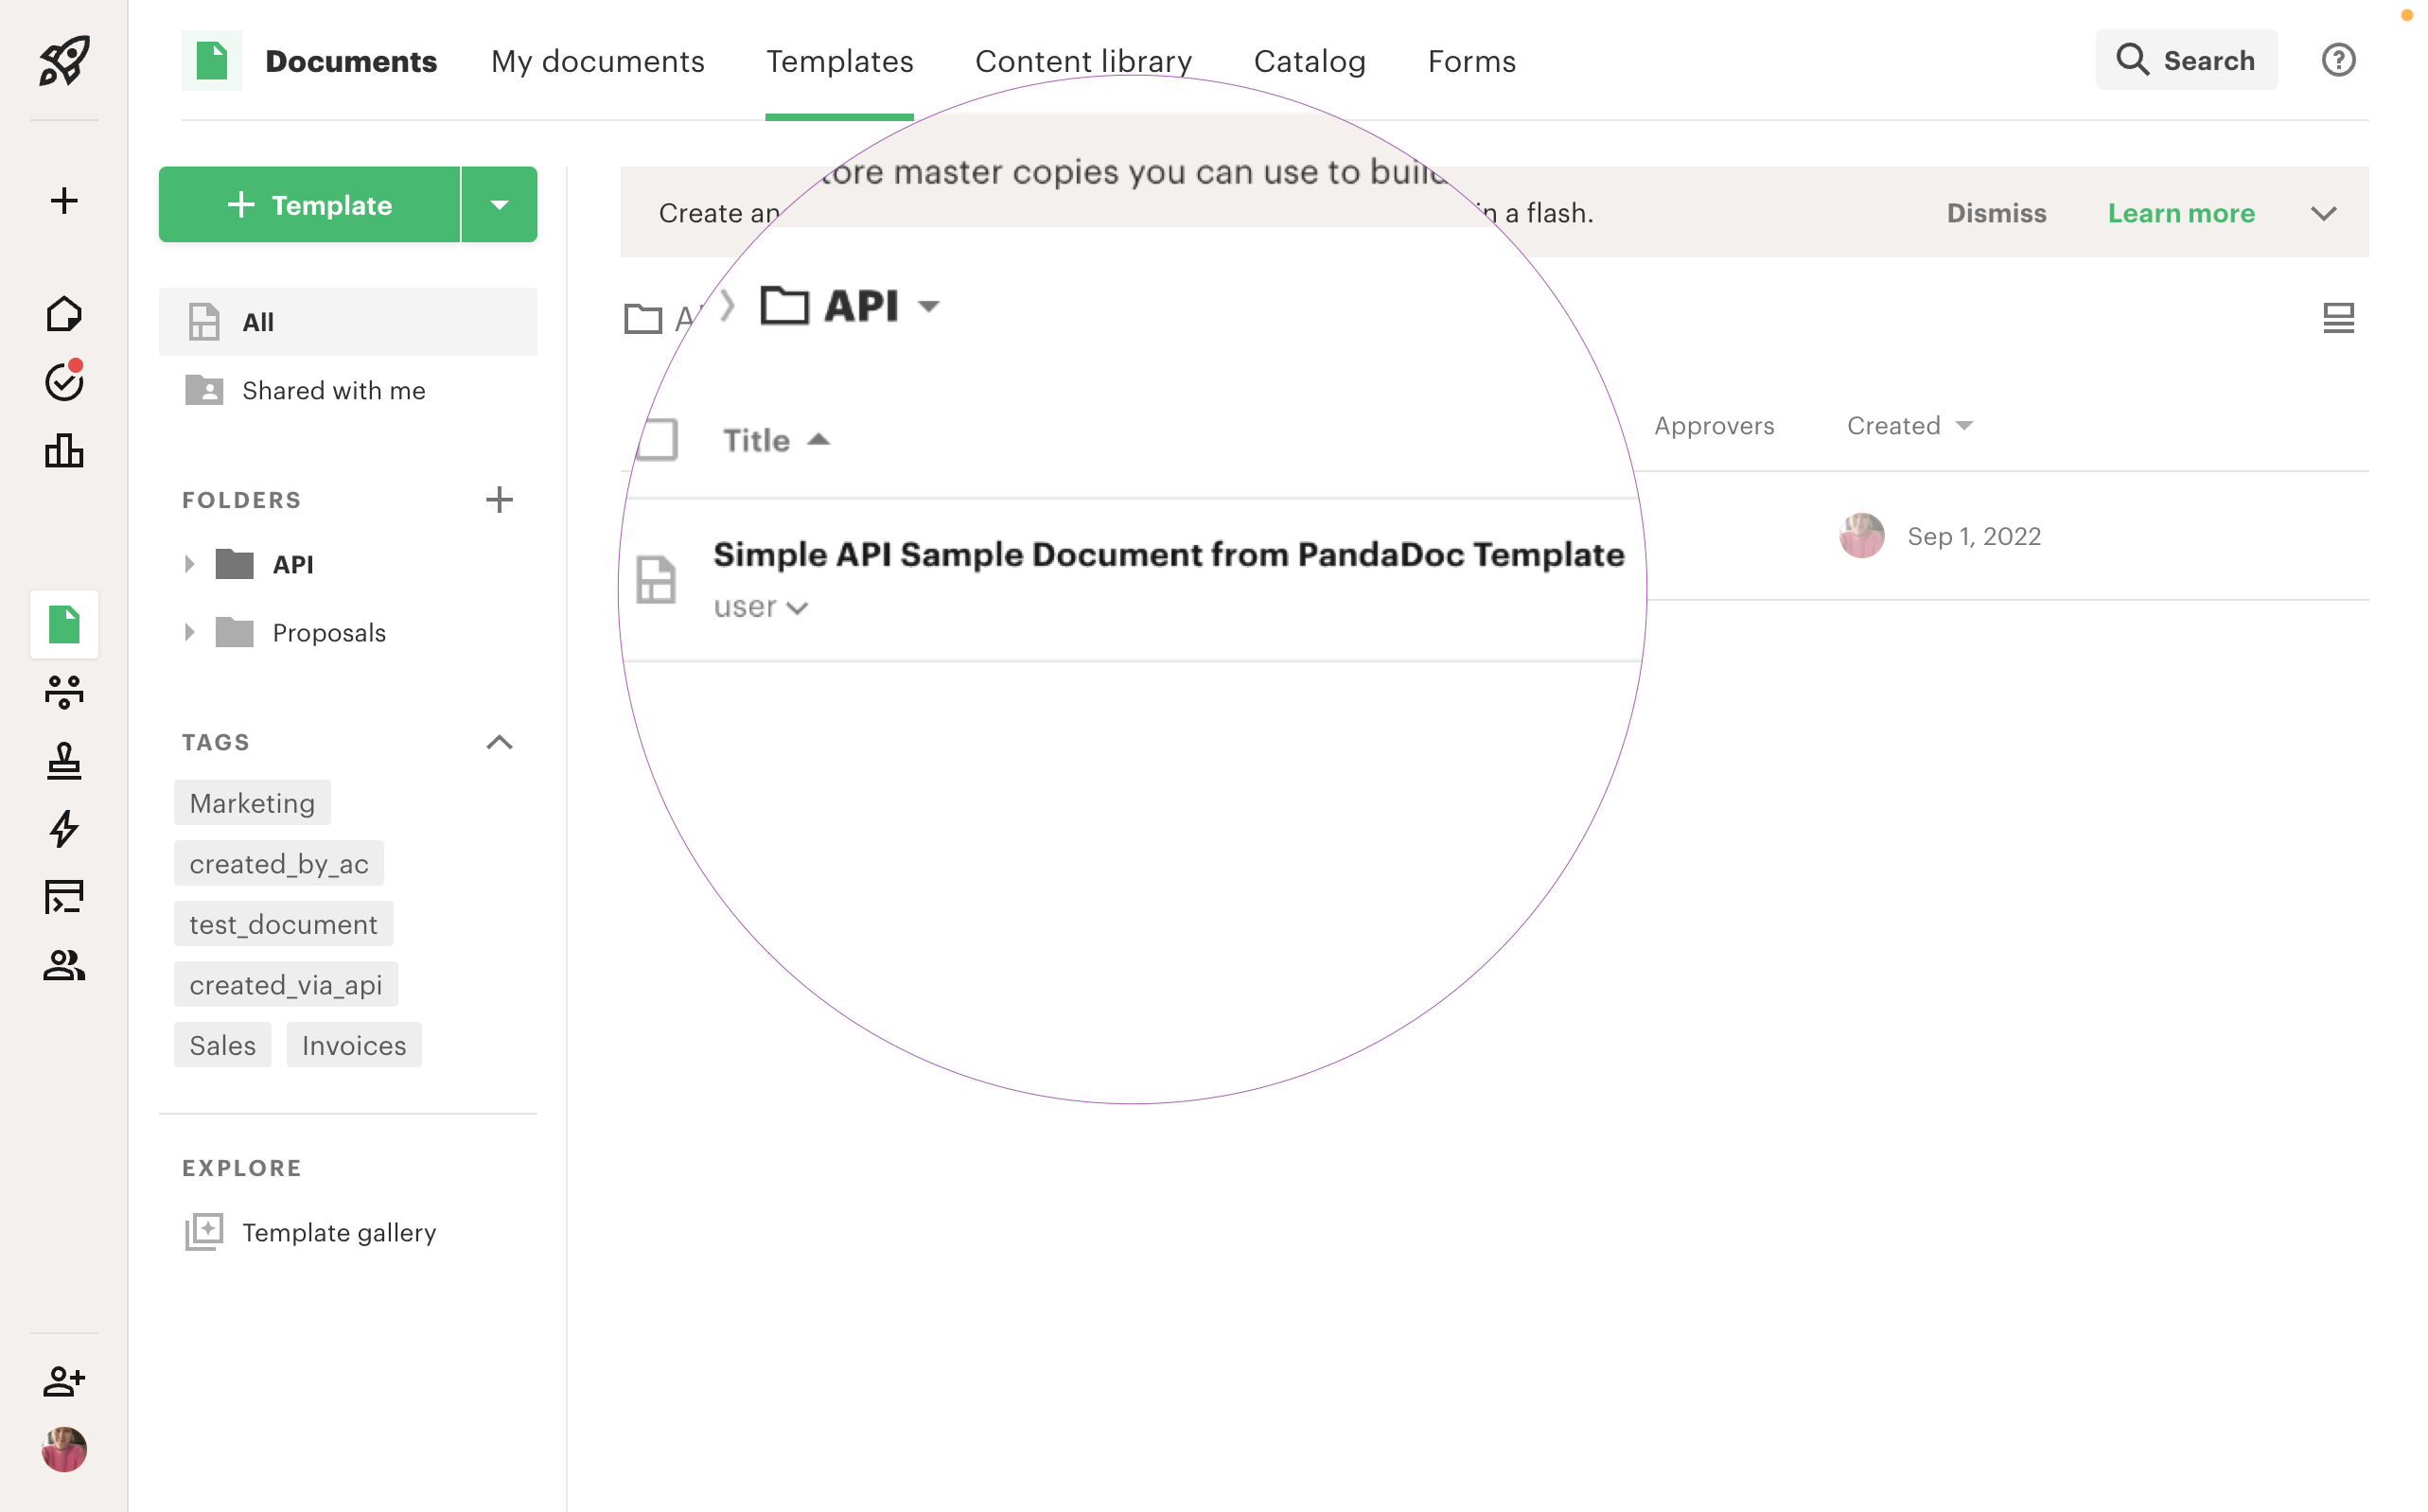
Let's select the Simple API Sample Document template that PandaDoc has prepared for testing the API.

Fork the Postman collection
PandaDoc API Postman collection helps you get started even faster.


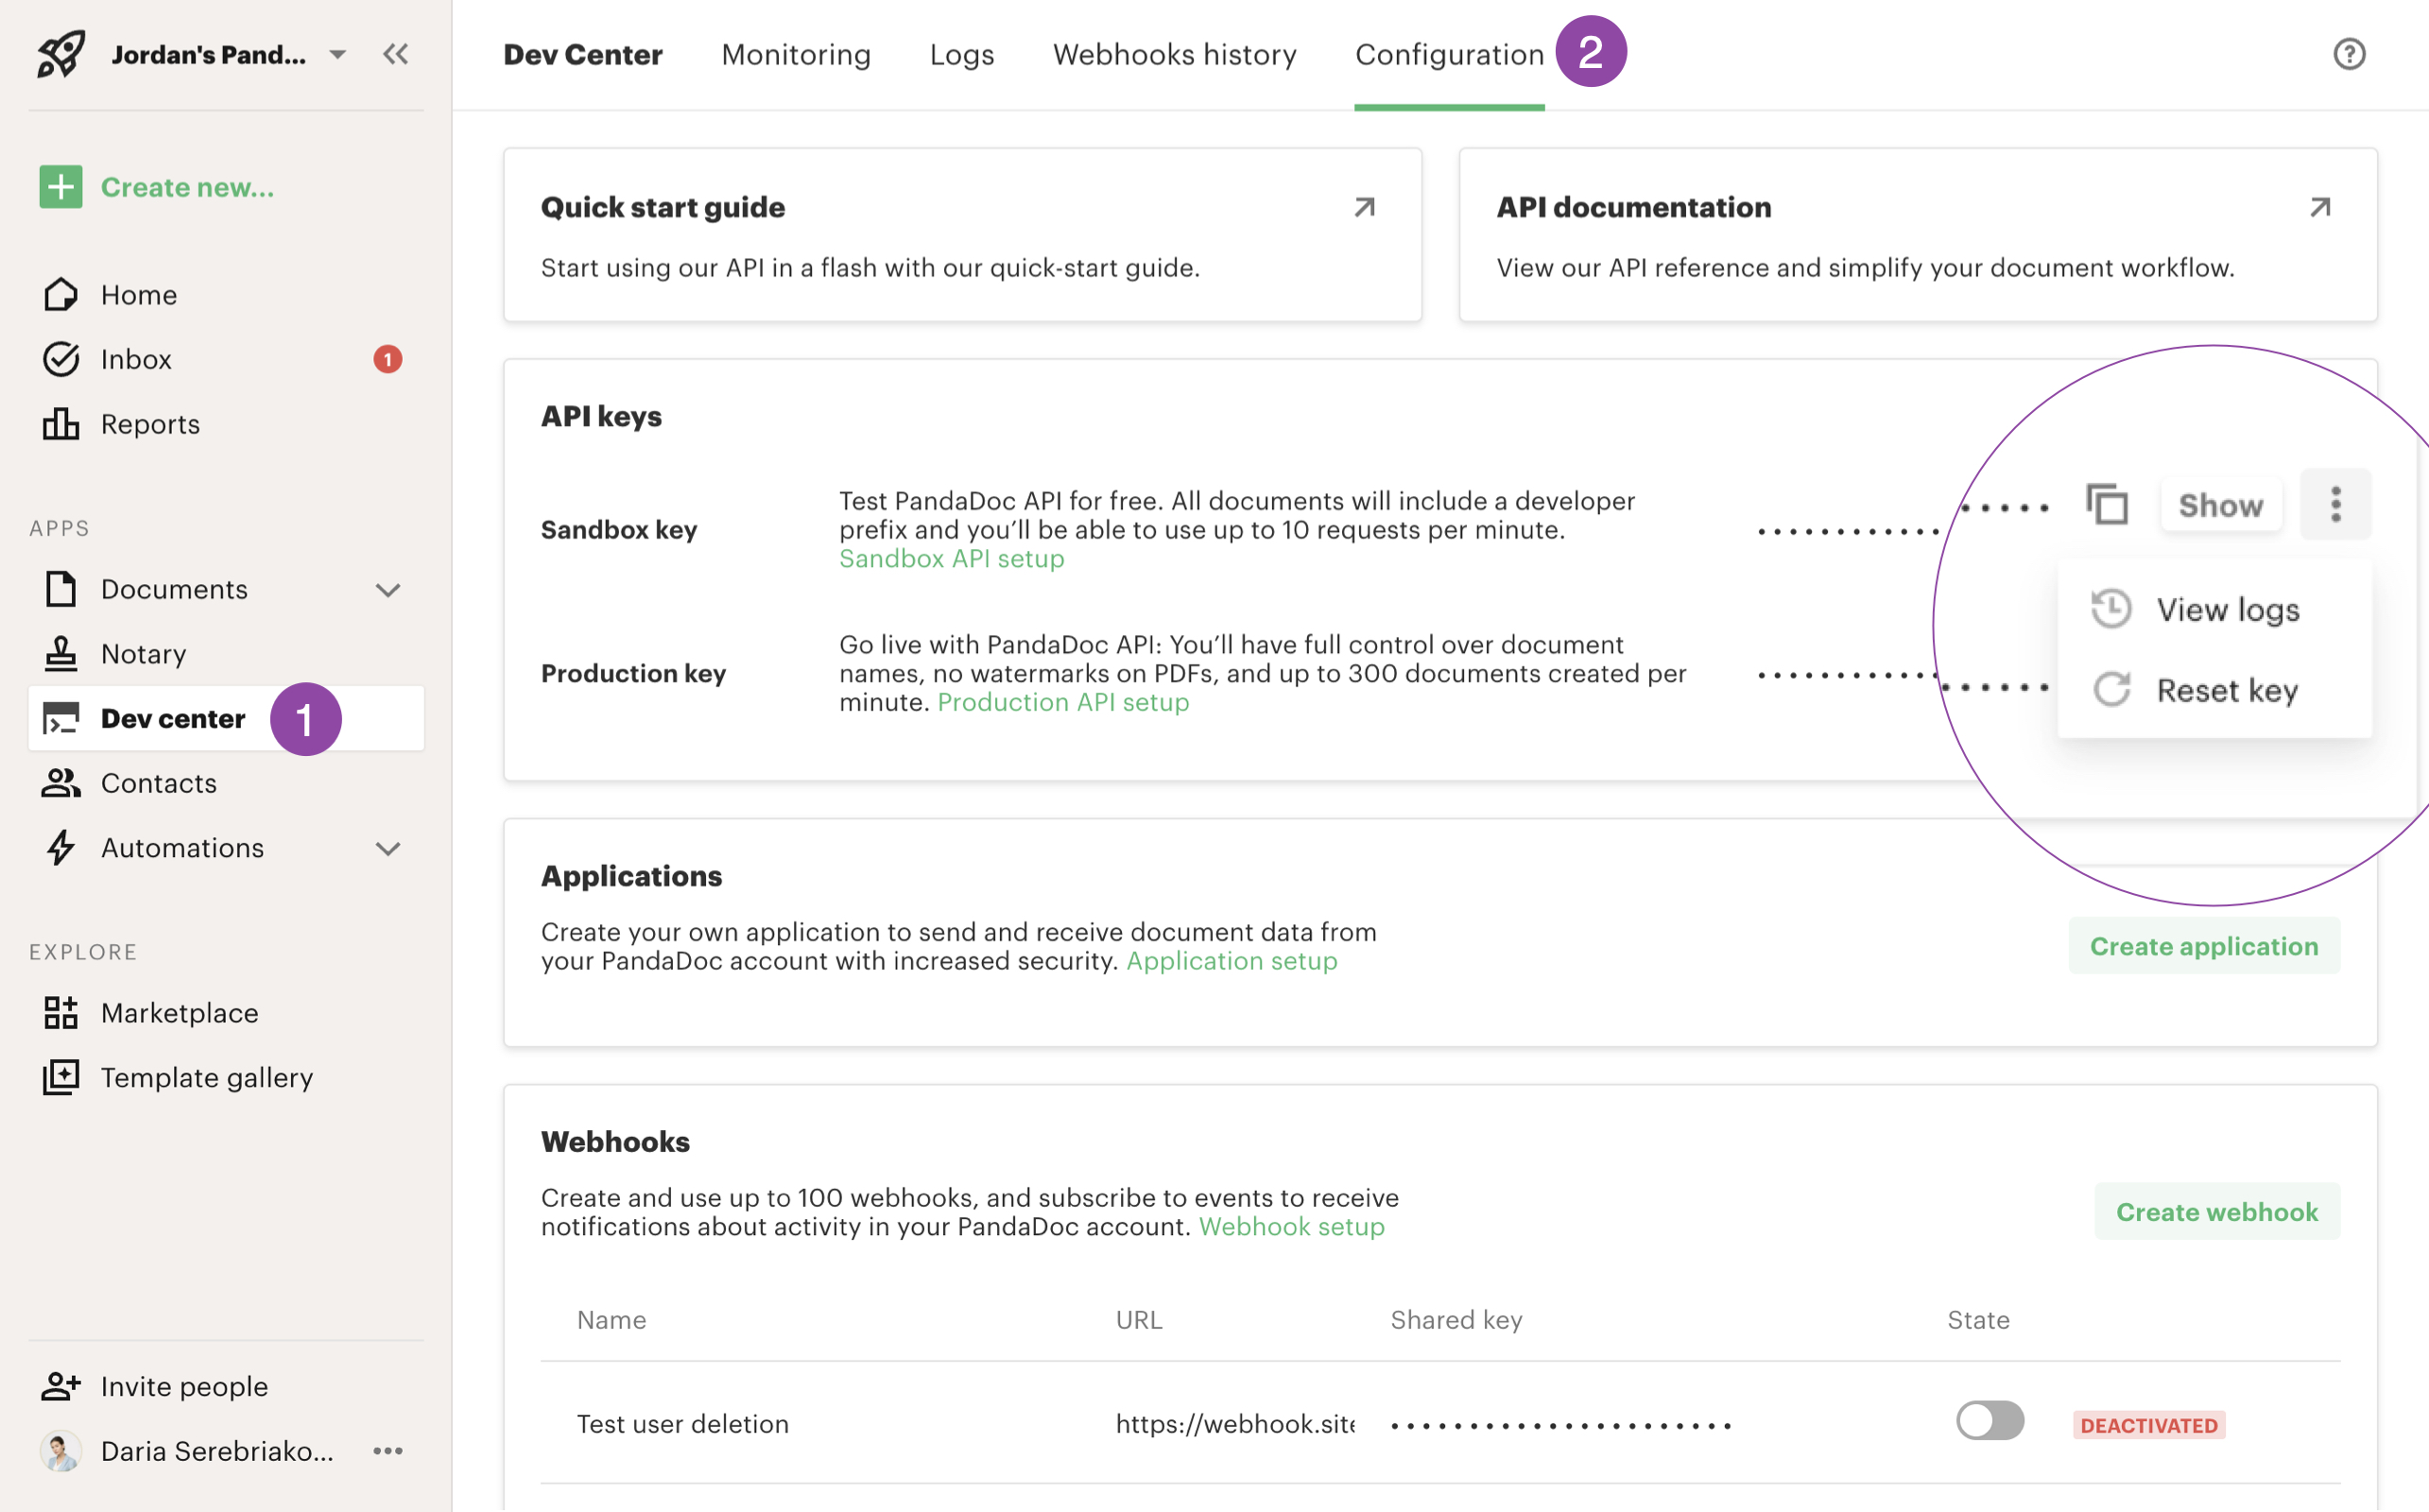
Generate and copy Sandbox key
Let's go to the Configuration page and click the button to generate a Sandbox key.
Expected outcome: We should see a generated API key that we can copy for use in Postman.
Authorize in Postman with Sandbox API key
The collection supports both API keys and OAuth 2.0 authentication. For the Sandbox, we'll use the Sandbox API key only.
Let's select the header we need in the request we're going to use:

Postman -> Environments -> PandaDoc API Reference -> api_key
Remember to Save our environment variables after we've added our API key.
Expected outcome: Our API key should be saved in the environment variables and ready for use.
Preset variables in Environments settings
Template ID
Let's get the template ID by visiting the Template page and copying the template UUID from the URL.
We'll use the sample template for this tutorial.

Templates -> Simple API Sample Document from PandaDoc Template
Recipient email
Let's enter a test email to receive the document.

Click Save in the Environment settings. Now we're ready to create our first document!
Expected outcome: All environment variables (template ID and recipient email) should be saved and ready for use.
Create document from PandaDoc template
Let's select "Documents API" folder -> POST Create document from PandaDoc template.
We can see that almost all template data is prefilled with the sample payload.
The Template ID and Recipient email are filled out from our Environment settings.

Postman -> Collections -> PandaDoc API Reference -> Create document from PandaDoc template
Select Send and wait for the response
Once we see the "document.uploaded" status, we've sent the request successfully. Let's keep in mind that document creation is an asynchronous operation, so we need to check the status first before proceeding with the next steps.
Expected outcome: We should receive a response with "document.uploaded" status and a document ID.

Check the Document status to make sure it’s created successfully
Document creation may take some time, so let's make sure it's ready for sharing.
We'll go to GET Document status and send a request to retrieve the status. Document data is inserted automatically by the Postman collection.
Once we see "document.draft" status, it's a success!
Expected outcome: We should see "document.draft" status, confirming our document is ready to send.

Send document
Now that our document is created, let's proceed with sending it via email.
As before, the document data will be inserted automatically.
Expected outcome: We should receive a confirmation that the document has been sent via email.

Congratulations! We have successfully created and sent our first document via the PandaDoc API.
What We Accomplished
In this tutorial, we:
- Set up our PandaDoc Sandbox account
- Configured Postman with our API credentials
- Created a document from a PandaDoc template
- Verified the document was created successfully
- Sent the document via email for signature
We can check how our document looks on the Documents tab:
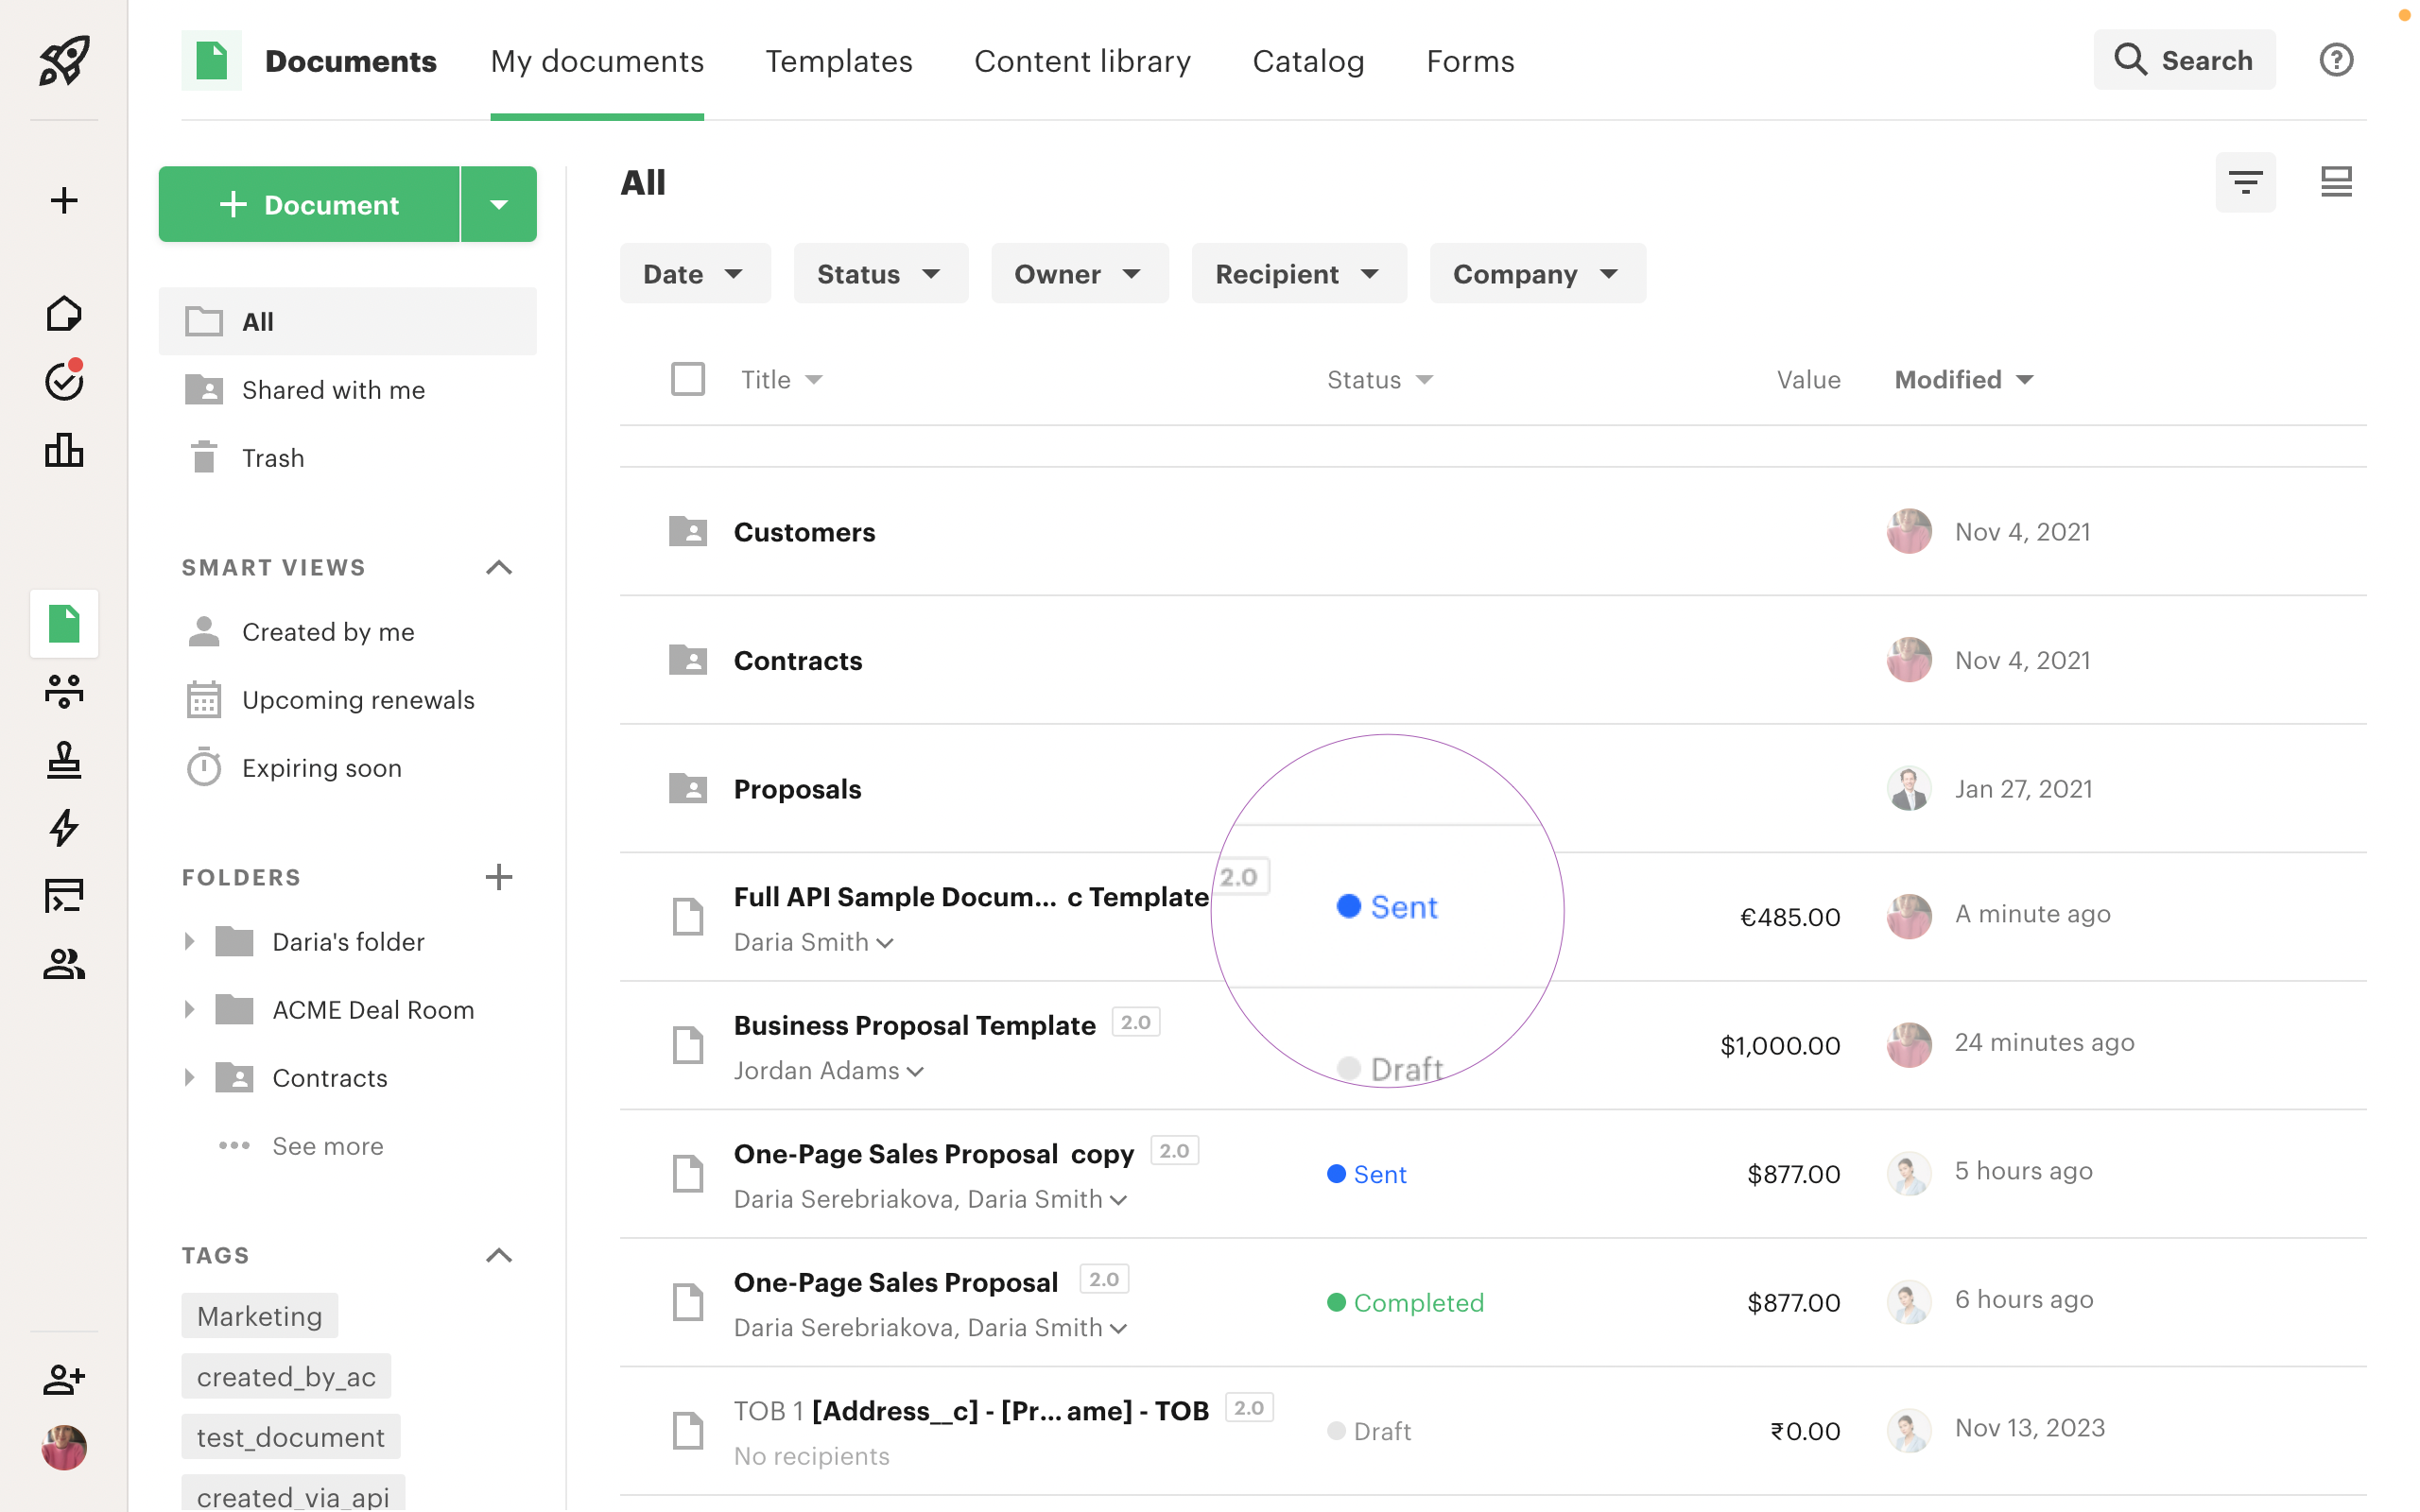
All Sandbox documents are marked with the "test" tag, and all documents created via API are marked with the respective tag.
Next Steps
Now that we've mastered the basics, we can explore:
- Creating documents from public PDF
- Uploading and sending local PDF file
- Advanced document customization techniques like working with text blocks, working with table and working with quotes
Updated 13 days ago