post
https://api.pandadoc.com/public/v1/documents//send
Using the Sandbox Key
When you use a sandbox API key during the free trial period, the sender and recipient email addresses must be from the same organisation (email domain).
Document State
- You can only send a document in the
document.draftstatus. - After creating a new document, it usually retains a
document.uploadedstatus for 3-5 seconds while the document syncs across PandaDoc servers. When the document is available for further API calls, it moves to thedocument.draftstate. Use Document Status or Webhooks to check document status. - Moving a document to the
document.sentstatus finalizes the document structure, before recipients can complete it. - If a template used for the document creation has an approval workflow turned on, the sent document moves to the
document.waiting_approvalstatus. Once the document is approved, you need to make the call again to move the document todocument.sentstatus.
Send and Silence Notifications
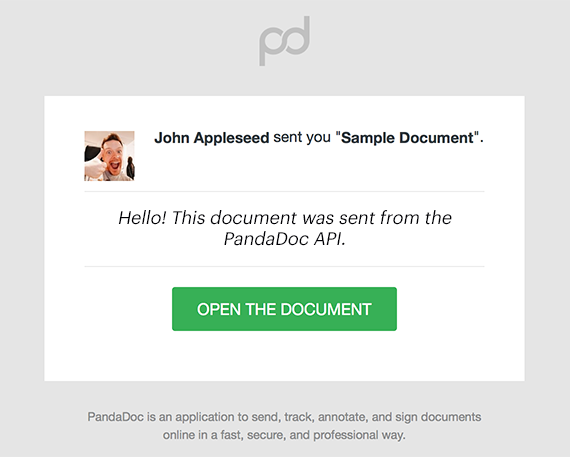
- By default, PandaDoc sends a notification email to the recipient, as well as notifications the sender has configured. You may disable all notifications for recipients by passing
silent: true. This is useful when you are using alternative delivery methods such as linking to the document or embedding the document. - The
silent: trueparameter disables sent, viewed, comment and completed document email notifications. "Document Approval" notification won't be affected by this parameter. - If you pass
silent: false, the document is going to be delivered by email and/or SMS.

Select Approver from Group
If you have previously set up an approval workflow with selectable groups on the UI, you can select a particular approver from this group. Learn more about selectable groups.
To set an approver, we recommend to follow these steps:
- Run the Document Details request.
- Copy the
stepspart from theapproval_executionsection of the response into theselected_approversfield of the Send Document payload. - Modify your payload according to business needs: set
is_selectedto true for one approver.
Note: You can change the selected approver only if you revert your document back to the document.draft status.
document.draft status.